How to strip and wax a VCT floor
This guide covers stripping old finish from a vinyl composition tile floor, rinsing it clean and laying down new floor finish. You end up with a bare, residue free floor sealed under several thin, even coats of fresh finish.
What you'll need
-
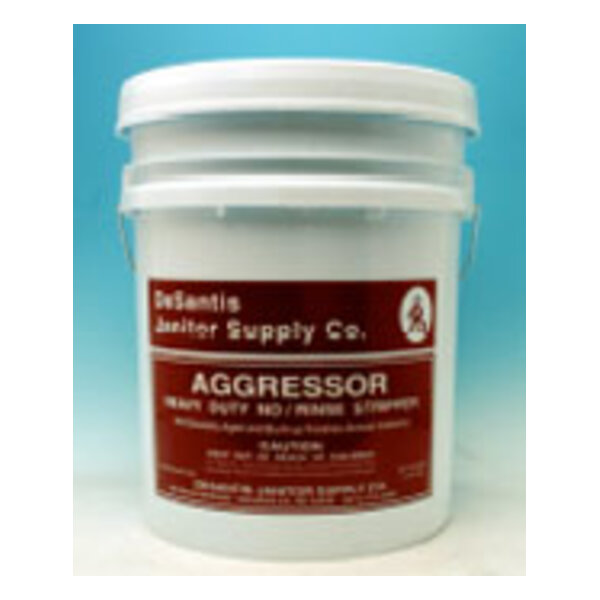 DESAGG-P
STRIPPER,"AGGRESSOR" FLOOR NA 1760, PG III
- NAC1058G STRIPPER, BARE BONES 4 GAL/CASE
-
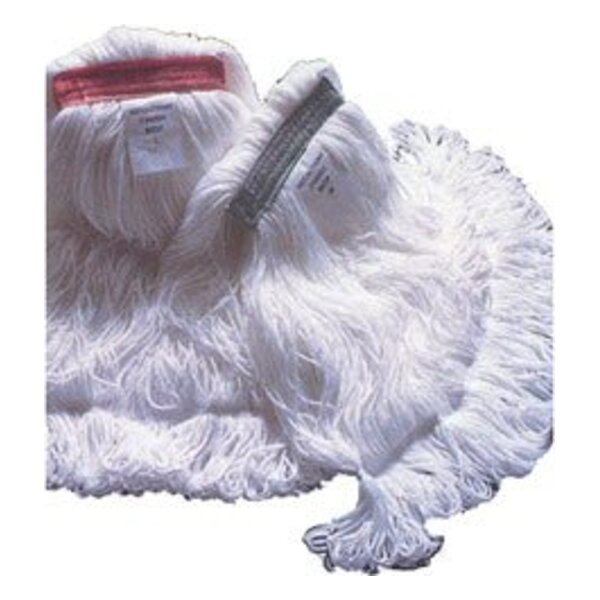 GOLAST50M
MOP,FINISH MOP, MEDIUM "REFLECTIONS", 12/CS
-
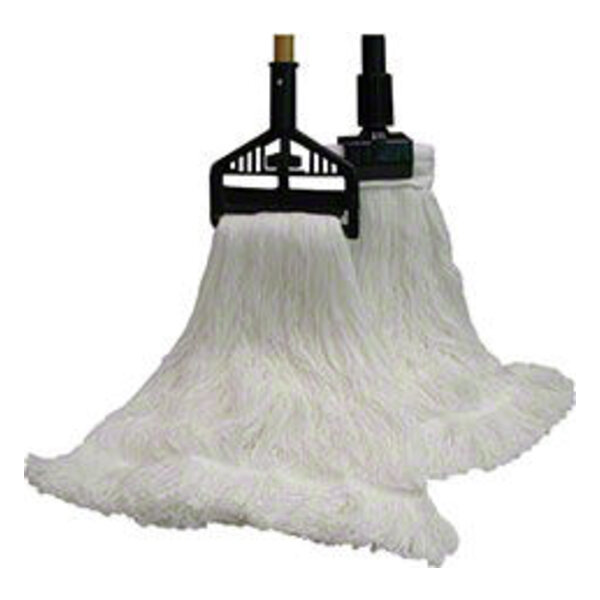 GOLAST50L
MOP, FINISH MOP LARGE REFLECTIONS
-
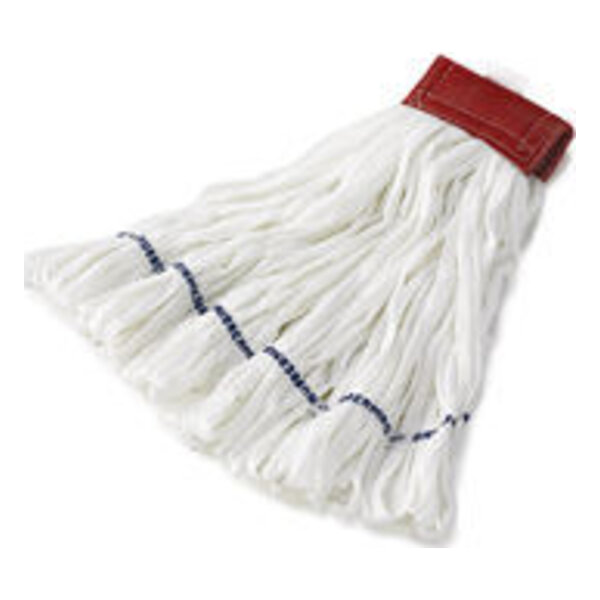 GOLASB1L
MOP, WET LARGE, LOOPED, NB COTTON BLEND, 12/CASE
-
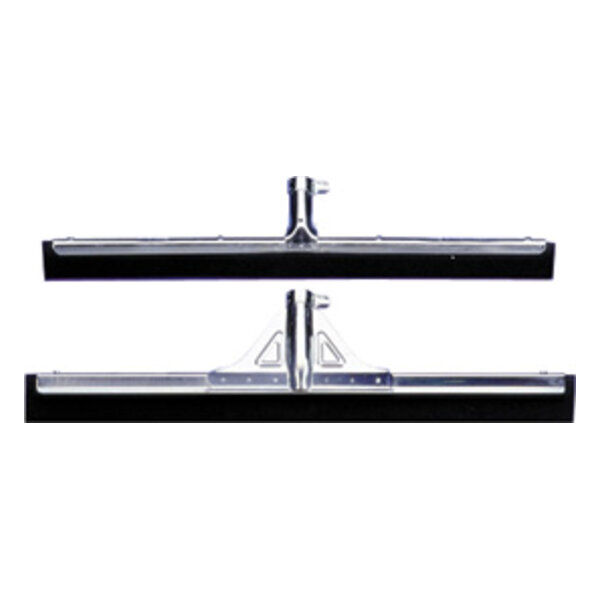 IMP7022
SQUEEGEE, 22" DISPOSABLE BLACK QUICK WIPE MOSS
-
 FINISH, INFINITY FLOOR 4GAL/CS Pick the size that fits your machine or job:
Also have on hand: dust mop, wet floor signs, plastic sheeting or painter's tape, chemical gloves, goggles, stripping boots or spiked overshoes, mop buckets with wringer, 175 rpm swing machine or auto scrubber, black stripping pads, doodlebug pad, wet vac, white pad, white cloth
Steps
-
Step 1: Clear the room of furniture, dust mop the floor thoroughly, put up wet floor signs and block the entrances. Tape plastic or painter's tape along any wood or painted baseboards.
-
Step 2: Put on chemical gloves, goggles, and stripping boots or spiked overshoes. Stripper slurry is extremely slippery and is the top injury risk in this job.
-
Step 3: Mix floor stripper (DESAGG-P) or floor stripper (NAC1058G) in cool water at the dilution on the label. Use a mop and bucket that are kept for stripper only.
-
Step 4: Flood a section of about 200 square feet (roughly 10 by 20 feet) with stripper, using a looped wet mop (GOLASB1L) and laying it on heavy. A thin coat dries too fast and will not work.
-
Step 5: Let the stripper dwell 5 to 10 minutes, or as long as the label directs. Do not let it dry, and rewet any spots that start to dry.
-
Step 6: Scrub the section with a 175 rpm swing machine and a black stripping pad, or with an auto scrubber. Scrub the edges and corners by hand with a doodlebug pad.
-
Step 7: Pick up the slurry right away with a wet vac, an auto scrubber, or a mop and wringer. If the dissolved finish dries back onto the floor, you will have to strip it again.
-
Step 8: Check the tile by dragging a fingernail or a white pad across it. Strip again any spots that feel gummy or smeary, since that means finish is left.
-
Step 9: Rinse the floor twice with clean water, adding a neutralizer to the first rinse if you have one. Change the rinse water often, because leftover stripper makes the new finish powder or peel.
-
Step 10: Let the floor dry completely, then wipe a white cloth across it. The floor is ready for finish when the cloth comes up clean.
-
Step 11: Apply 4 to 5 thin coats of floor finish (DESINF-G) with a clean finish mop (GOLAST50M or GOLAST50L) in a figure 8 pattern. Allow 20 to 30 minutes of dry time between coats.
-
Step 12: Keep the middle coats about 6 inches off the baseboards so the edges do not yellow or build up.
-
Step 13: Let the finish cure. Allow only light foot traffic for the first few hours, and do not burnish for 24 to 72 hours, depending on the finish.
Questions about this job?
Call us or talk to your rep. We'll help you pick the right products.